
Some people would say Christmas is the happiest day of the year. I disagree. The happiest day of the year is New Welder set up day. And although I made this amazing new holiday up, it’s more than just fun and games. You might follow the instruction book, installing the gun, calibrating the settings and securing the power cord to hook up electric. But I’m more of a visual guy, so I wanted to find an easier way to answer the question, “how to set up a MIG Welder.” So I found a great video that we will break down step by step.
A: Setting up a MIG welder is straightforward. First, install the gun & secure it. Then install the wire feeding it over the rollers and into the gun liner. Clamp down the rollers & plug in the electrical dongle. Grab the gas tank, secure it and install your regulator. Turn on the gas & plug it in.
Now, that’s the 20,000-foot overview of how to set up a Mig welder, but it gives you a good outline to follow.
Let’s dig deeper and set our machine up to weld.
Preparation
If you haven’t purchased your new MIG welder yet, GREAT. A little bit of preparation goes a long way and there are a few practical things I want you to consider before you make the purchase. Oh- if you need some help deciding on a great welder, check out this review (for beginners) or this comparison (for more advanced welders)… It mentions my favorite welder, the powermig.
Space
You’re going to want to figure out where your cart will “live”. It needs to be close to power but also in a space that is near your workbench. You could build a cart or purchase one so you can move your machine around. Also, if you need to have your welder in a specific area and power is more then 15 ft away (the longest welders power cord) you can buy a heavy duty welder extension cord.
Power
Welders come in all shapes and sizes – and in this case, different power requirements. Some run off home power @ 115v and some require heavy duty 220v or 230v power. This one requires heavy duty 220v or 230v power:
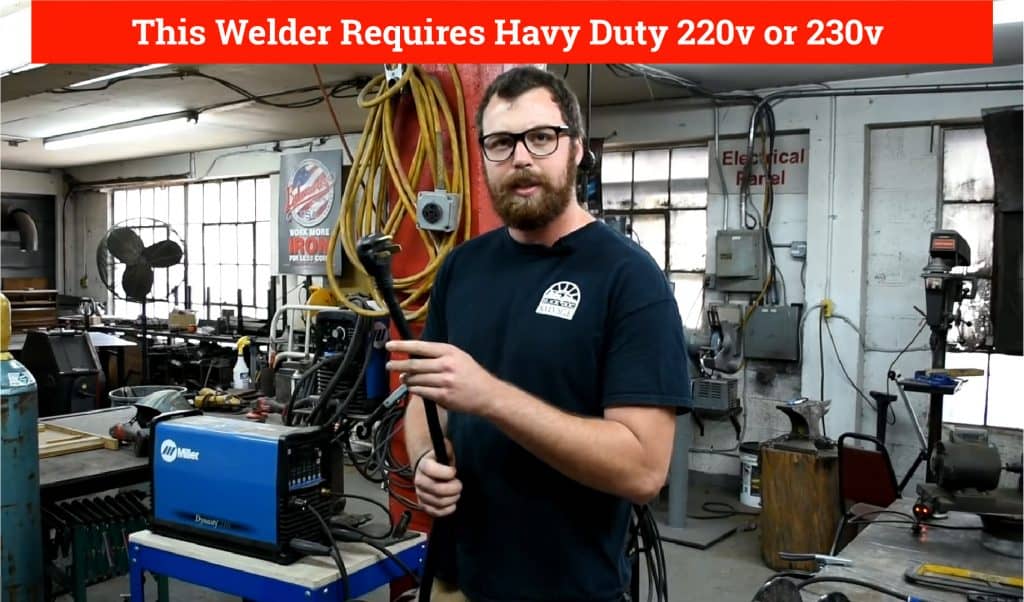
So if you’re going to use your welder at home, make sure you buy a welder with the right power requirement.
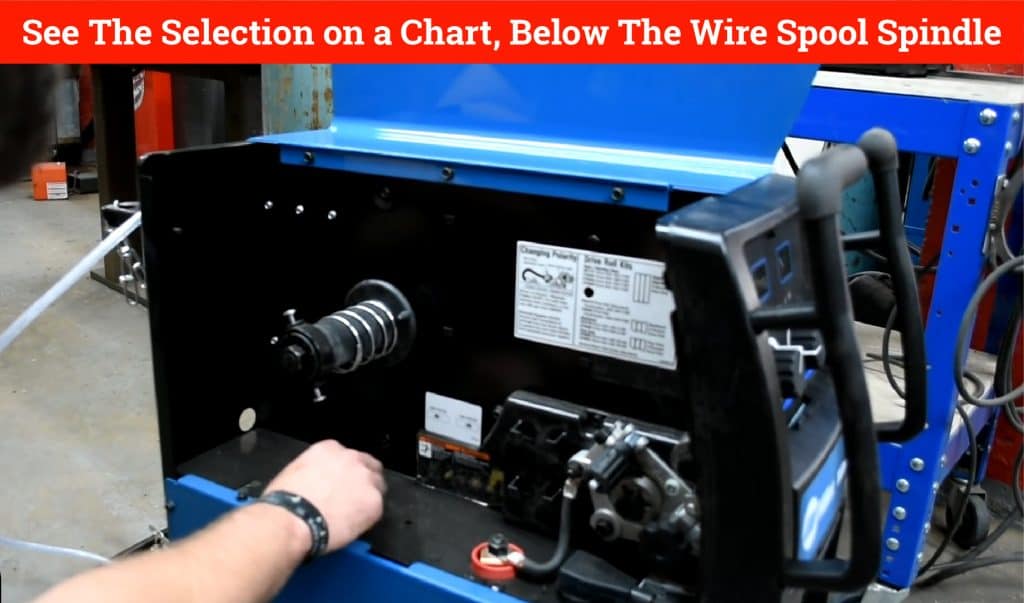
Now, some welders can run on different power (115v, 220v or 230v) – some change their settings automatically, while others need you to manually change the settings inside the machine – so check yours out and make the appropriate selection.
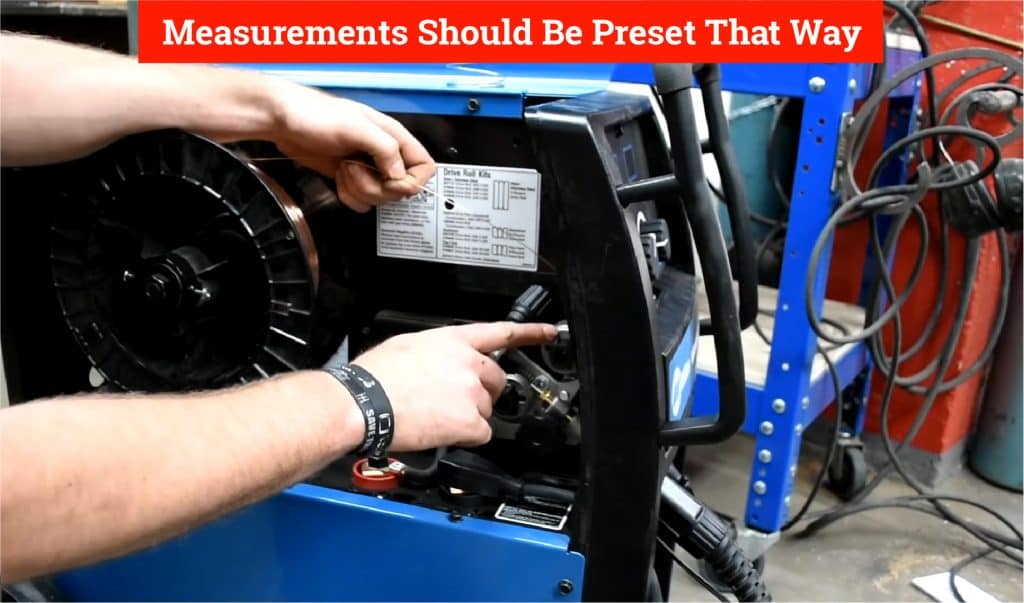
You should see the selection on a chart, below the wire spool spindle:
Hook Up
Ok, you thought about the machine you need with the power requirements you have in your home or your shop, you decided where your welder will live, now what? Time to hook up all the accessories! By the way, the machine that is being used in the video is the Miller 252, a GREAT machine…
Step 1:
Unbox your welder and set up all the parts you will be installing today.
You can either set up your welder in its permanent location or in a larger space, like the shop floor.
Step 2:
If your machine has a power selection switch inside (mentioned above) go ahead and select the voltage that your new MIG welder will be running off of.
Step 3:
What kind of metal will you be welding? Will it be Aluminum or mild steel? And what thickness will this material be? When you know what your welding you can install the appropriate wire.
If you are unsure of the thickness or the type of projects you’ll be working on, a good all around wire to use is .035 gauge wire. It’s good because you can weld anywhere for 16th gauge up to ½ inch mild steel – so it will cover most of your projects.
So, if you have selected .035 wire, grab the following: .035 wire

.035 contact tip

Nosel for the gun

Now we can move on to the next step with our materials…
Step 4:
Grab the gun to install it into the body of the welder, and unroll the cord so you have the opposite end of the touch – the connector (it will have the switch hook up- the little black cord).
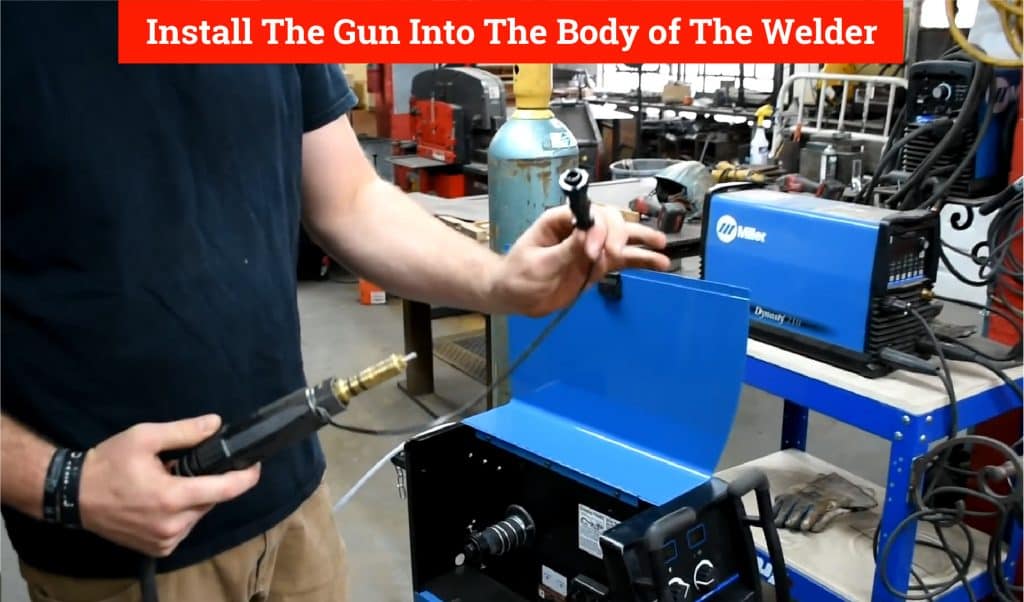
Now, find out where to insert your gun. In this example, it is in the front of the machine. Some welders have the port in the back of the machine. Insert your gun into the port.

Make sure the clamp securing the gun is loose.
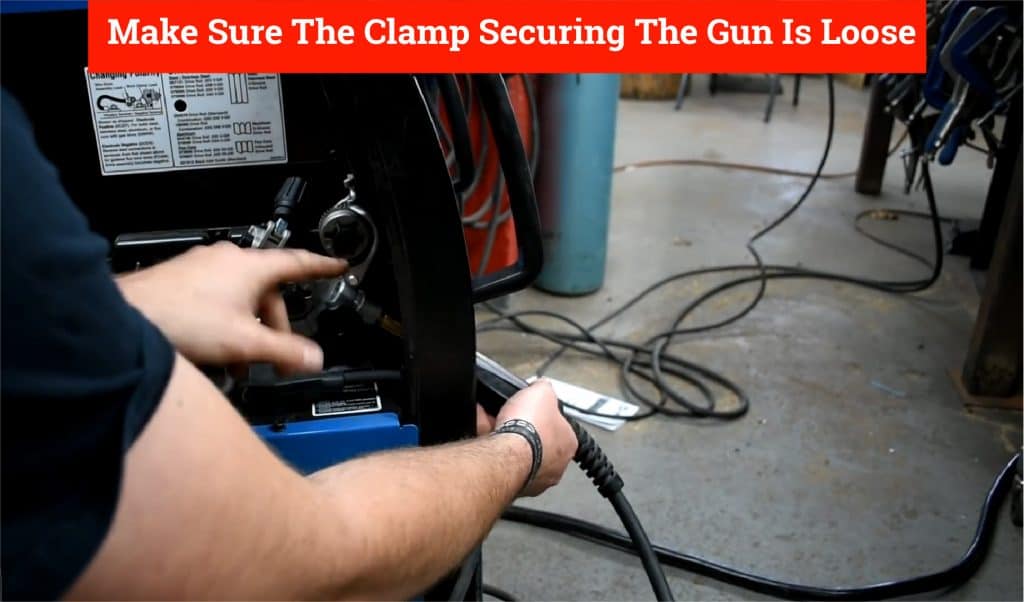
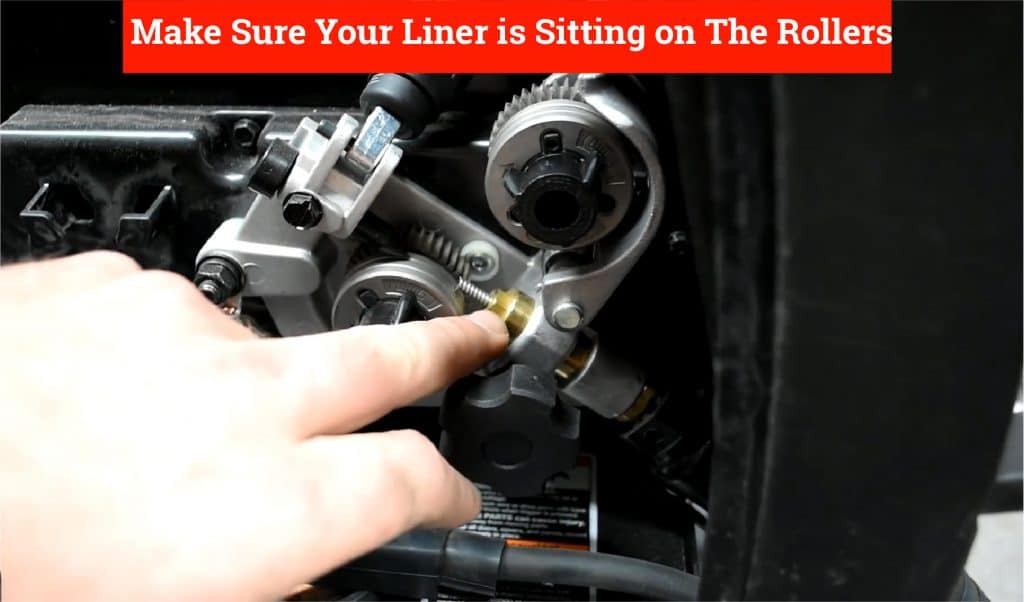
And thread the connector into the rollers, past the “O rings”.
Make sure your liner is sitting on the rollers- as this is where your wire will be inserted next. You want to make sure there is no gap so there is no chance of your wire slipping, folding, buckling or and getting tangled into the rollers.
Once you are satisfied with the gun and its position, tighten the clampdown.
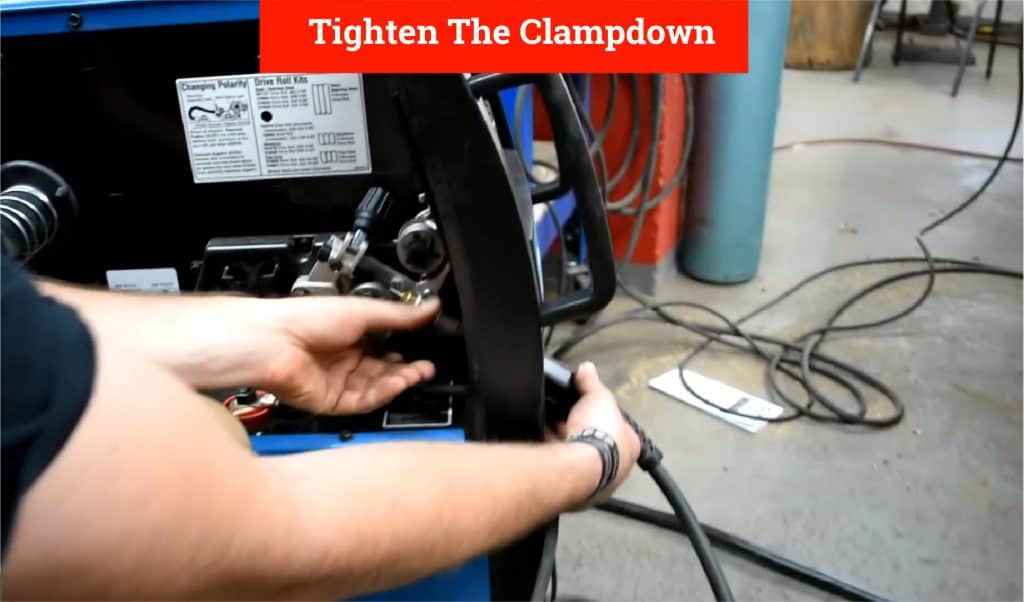
Now to complete this portion take the little black cord and plug it into the corresponding switch, and tighten the ring down.

Step 5:
Time to install your wire. Check out your wire shaft and notice the spring. If you are using a 10lb roll or larger, you may need to remove the spring.

This is for smaller rolls of wire – it keeps the spool under tension so the wire is fed into the gun.
Now, grab your spool and make sure the wire is being fed from the top of the roller.

Because it needs to line up with the top of the rollers so the wire is fed in a smooth way.

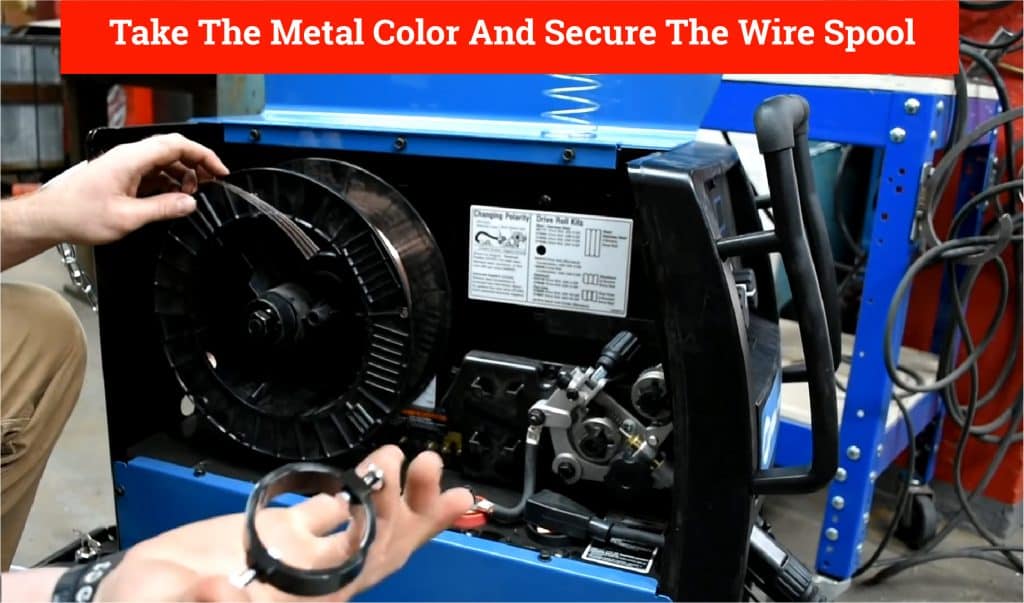
Find the nub on your wire holder and line it up with the nub on the spool of wire and insert the spool into the machine.

Once loaded take the metal color and secure the wire spool.
Now, double check the measurements on your feed rollers for .035 gauge material. They should be preset that way.

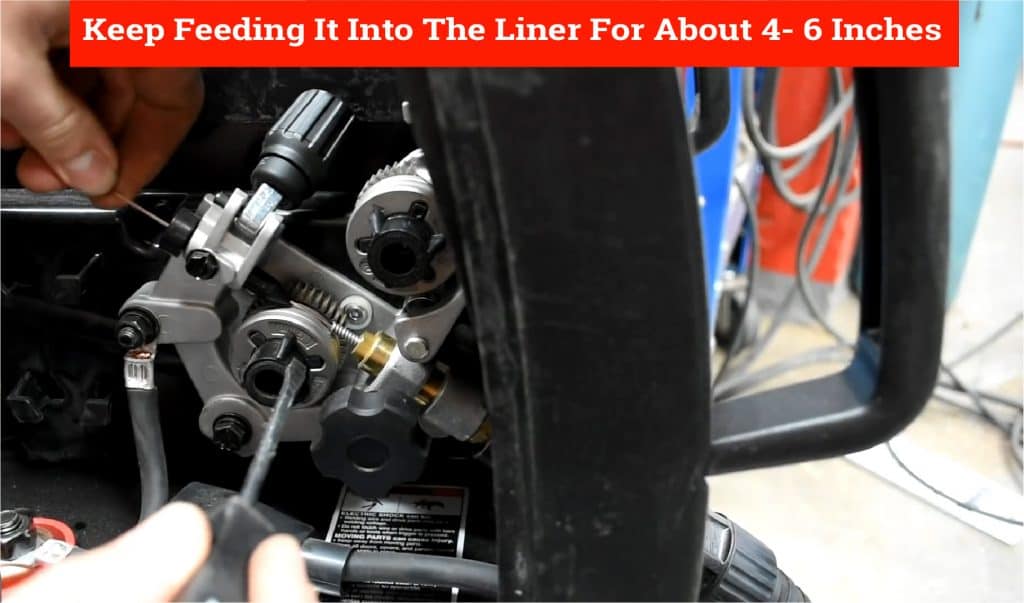
Ok, now grab your wire from the roll and feed it into the black tube on the drive system. You may need a good flat head screwdriver to nudge the wire into the groove of the roller.

And into the liner of the torch. Keep feeding it into the liner for about 4- 6 inches.
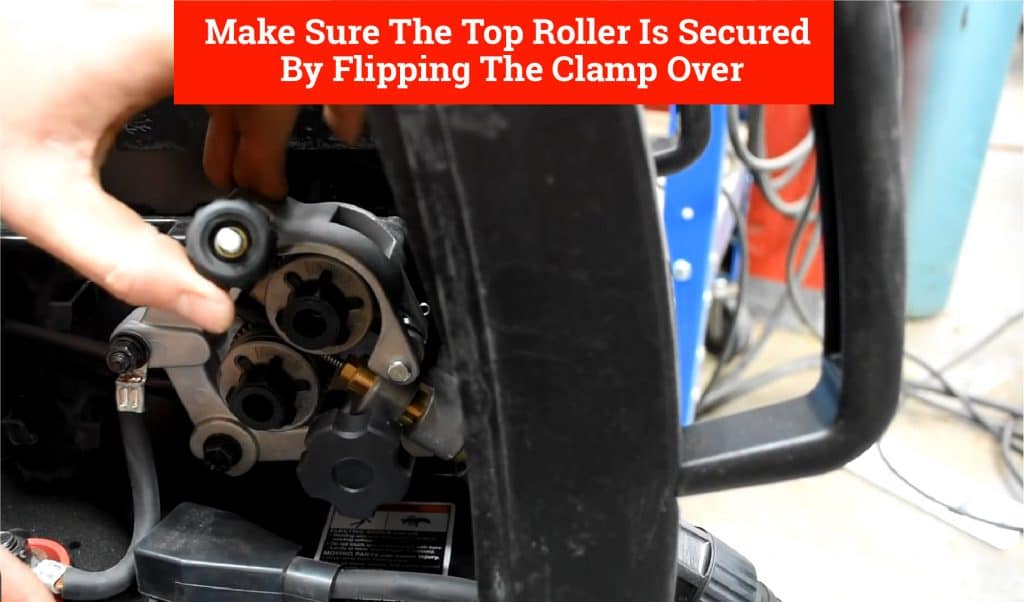
Now, take the top roller and move it down over the wire and the liner.

And make sure the top roller is secured by flipping the clamp over. The clamp is spring loaded, so you want a good amount of tension but not overly tight.
We are done inside the machine – wasn’t that easy?
Now, you’ll want to plug your machine into the power source and turn it on.
Step 6:
Once you have the power on, grab your torch and turn the wire speed all the way up.
Then hold the trigger and your wire should feed through the gun and out of the tip.

Once the wire is exposed, grab the contact tip and slide it over the wire and screw it onto the gun.


Pro-Tip: Any time you change the size of your wire, you must change the size of your tip. It’s a good idea to have several tips in stock so you don’t have to waste time going to your local welding supply store.
Pick your nozzle (which helps focus the shielding gas), slide it over the contact tip and hand tighten it down.

Then grab a set of pliers and clip the excess wire.

Easy as pie!
Let’s move on to our gas set-up.
Step 7:
You want to get the best shield gas for your needs. The most widely used type of gas is c25 (25% co2/ 75%argon).
Grab your tank and unscrew the top.

Now, grab your welding cart and notice where the platform to hold your shielding gas is …

Give your tank a “hug” and place it on the platform.

Now, grab your regulator and thread it into the bottle. I always recommend upgrading your regulator because you want to have an accurate gauge. A cheap one can leak or give inaccurate readings.

Grab your adjustable wrench and tighten the brass nut to the base of the tank. Just a little bit of pressure is needed to fully tighten the bolt.


Make sure the other end of the gas hose is secured tightly to the machine (just like we did for the torch).
Now, you can set your typical flow rate. A good measure for beginners is 20 CFH.
This, of course, can vary- but it’s a good starting point.
To do that:
Turn the knob on your tank so the gas starts to flow.

Now, check your tank pressure. A full tank typically reads 1500 PSI.

Now check your flow rate gauge, turn the regular handle (in front) until the CFH reads 20.

Now you are ready to weld!!
You will just have to adjust your wire feed and voltage settings, but that depends on what you’re going to weld next…
Conclusion
In this article, you learned how to properly set up a MIG welder. All welders will be very similar, so if this one is not exactly like yours – don’t worry. You’ll be able to set your machine up in no time and be welding like a pro.
If you liked the steps above, be sure to check out the video below. You should also check out Blackdogsalvage’ own Youtube channel. They have been around since 1999 and are well established. You should also check out their other online presence such as their website; blackdogsalvage.com , Twitter, Facebook, Instagram and Pinterest.


