
You can never have too many jigs in your workshop, especially when they are jigs that make your work safer and easier. The best part about these jigs is that you can easily make them using materials lying about.
In this article, we’ll show you how you can create a jig for your angle grinder using old bicycle parts. This jig will provide a rotating platform for the angle grinder, turning it into a miter saw.
So, let’s get to the workshop and start building it.
What You’ll Need
To create this jig, you’ll need some items. They include;
- An Old Bicycle Frame.
- A Small/Medium Angle Grinder.
- 2 M4 Bolts and Nuts.
- 1 Spring.
- 4” By 12” Metal Plate.
- ¼” Thick Metal Strip
Disassemble The Bicycle Frame
Take out your old bicycle frame and place it on the workbench. You’re going to need a specific section of the frame.
The section you’ll need includes the bottom bracket, seat tube, chain stays, crank arm (pedals), and down tube. You’re going to take have to take this section apart.
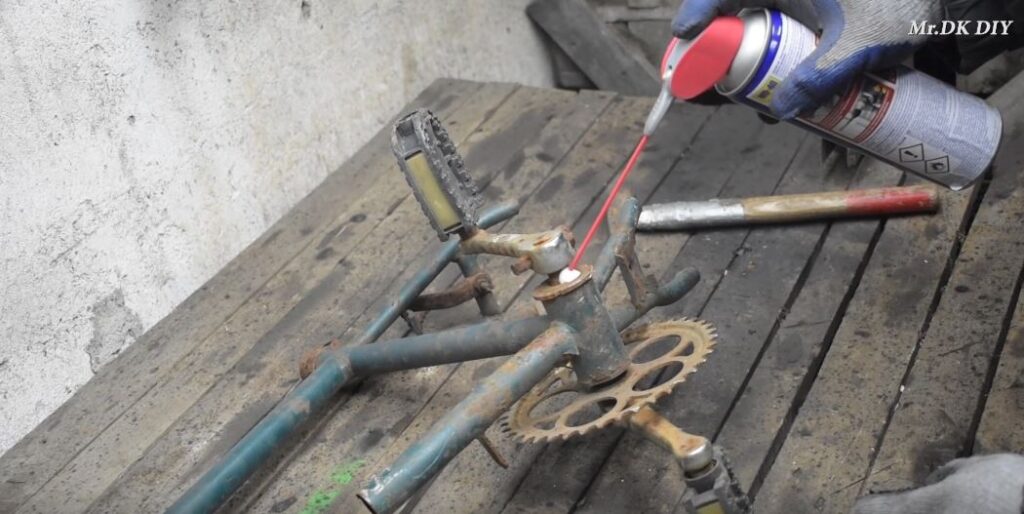
First, you must ensure the bottom bracket’s shaft is rotating freely. This shaft is going to be the hinge for the angle grinder jig.

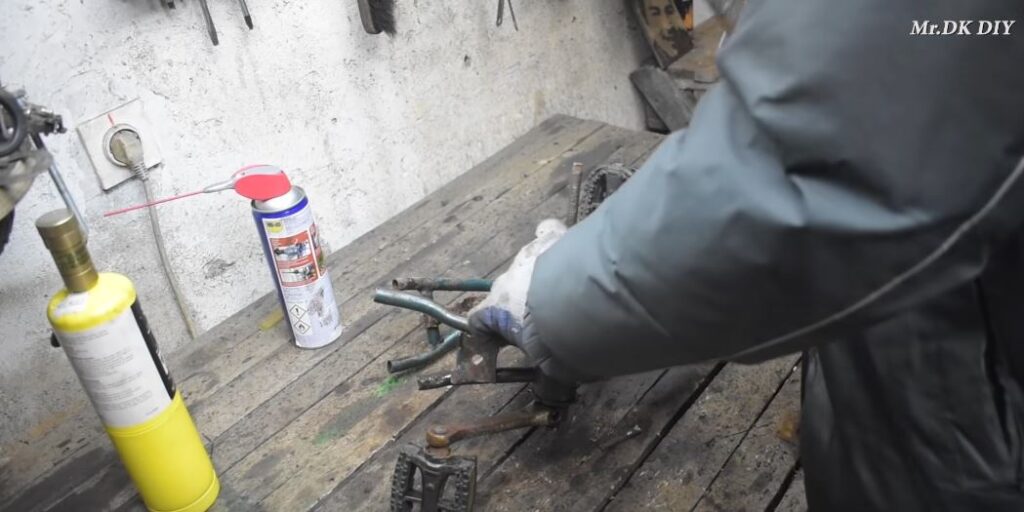
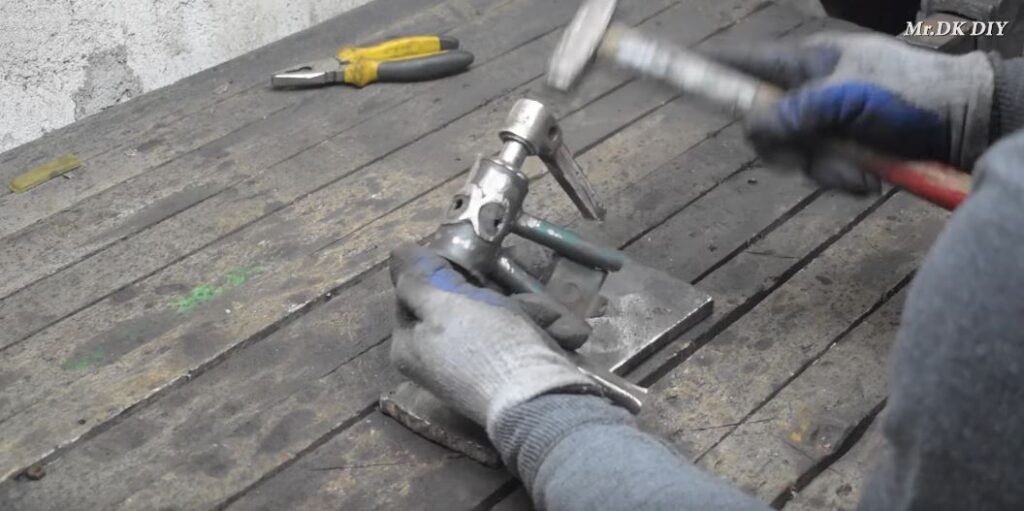
If the bottom bracket is rusted, add some oil and heat it until the pedals on the crank arm can rotate freely with the shaft. You can tap the crank arms with a hammer to loosen them up and make sure they rotate freely.
Next, remove the crank arms from the bottom bracket’s shaft. Once the arms rotate freely, heat the bolts that hold them in place to loosen them.
After the heat loosens the bolt, remove them and take the crank arm out.
Cut The Seat Tube

Place the frame on the workbench. Using an angle grinder, cut the bicycle’s seat tube off the bracket.
Next, cut the down tube off the bottom bracket. Make sure you remove them entirely from the bottom bracket leaving only the chain stay.
Wear gloves and eye protection when using the angle grinder to protect yourself from flying sparks.
Cut The Chain Stays

Turn the frame around on the workbench. Using the angle grinder, cut off a section of the chain stay, making sure both rods are equal.
The part left attached to the bottom bracket should be about 5”.
Create The Base For The Jig


Take a half-inch thick 4” by 12” metal plate and place it on the workbench (you can also clamp it in a bench vise). Using an angle grinder, grind down its surface and edges until they are smooth and level.
Also, remember to wear protection in the form of gloves and goggles to protect yourself from flying sparks.
Remove The Chain Ring from The Crank Arm
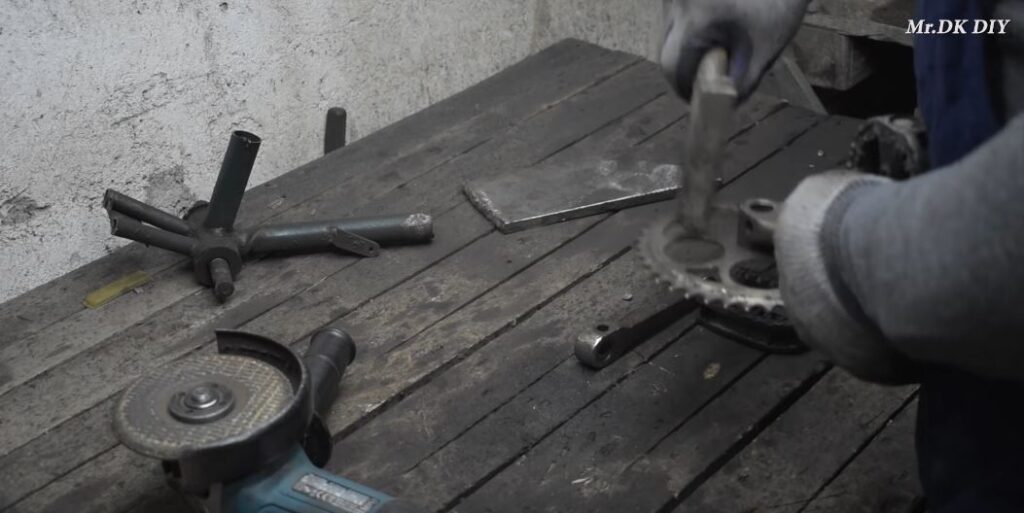
Grab the crank arm connected to the chainring and place it on the workbench. Using the angle grinder, grind off the ring that connects the two parts.
After this, you can simply tap the chainring off the crank arm with a hammer.
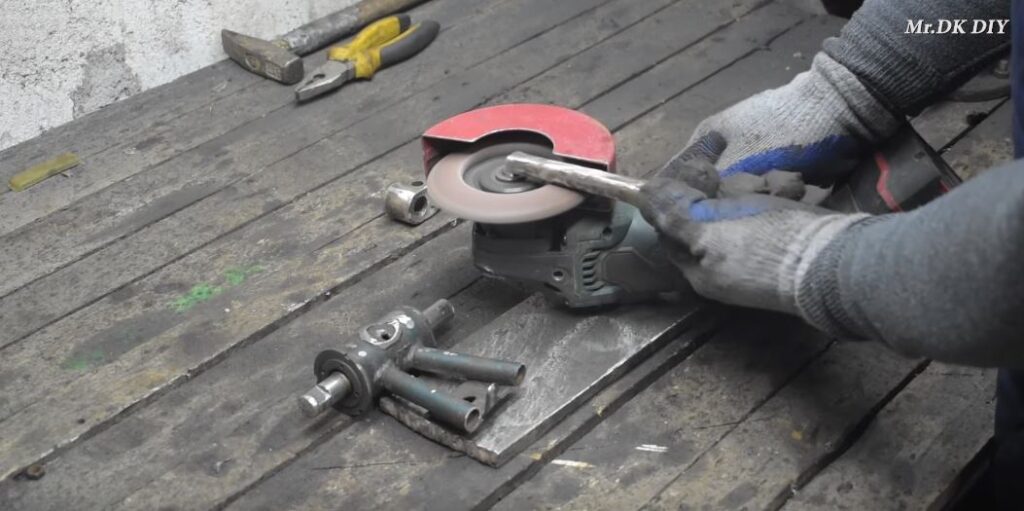
Sand Down the Bottom Bracket

Take the bottom bracket and grind it down using the angle grinder. Make sure you remove any rust or impurities on its surface.
This will make it easier to paint and make the paint last longer on its surface.
Remove The Pedal from The Crankarm

Clamp the crankarm in the bench vise and make sure the pedal is hanging off one edge of the vice. Using the angle grinder, cut just above the joint holding the pedal and the crank arm together.
Cut it all the way through and remove the pedal. Remove the crank arm from the vise.
Do the same for the second crank arm.
Sand Down the Crankarm
Using the angle grinder or an electric sander, clean up both crank arms. Make sure that there are no rust or impurities left on their surfaces.
Attach The Crankarms Back To The Bottom Bracket
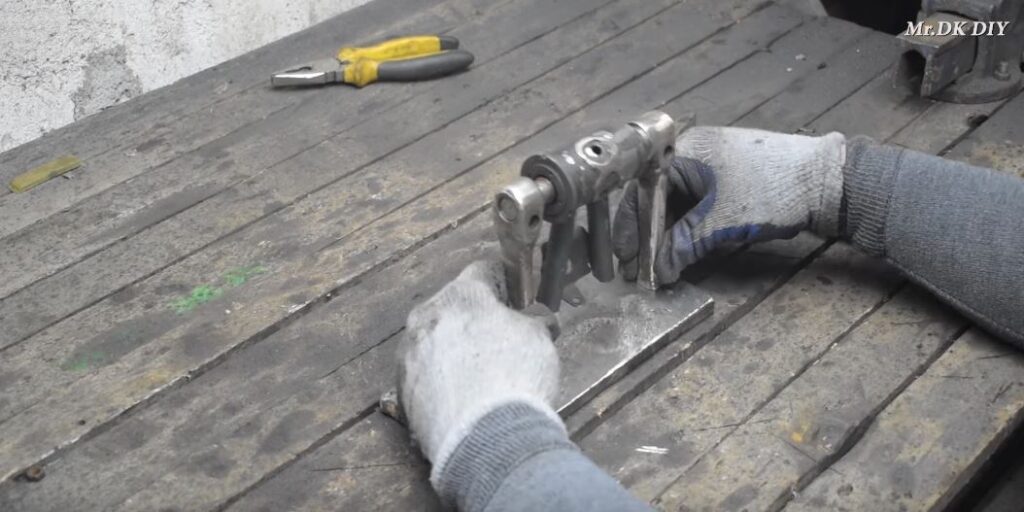
Place the bottom bracket and the metal plate on the workbench. Now, attach the crankarms back to the same shaft where you removed them from before.
Use a hammer to tap them in and make sure they are snug. The leftover part of the chain stay should be able to rotate freely between the two arms.
Weld The Crankarms To The Bottom Bracket
Make sure the bottom bracket’s shaft and the crankarm’s holes are flush and aligned. Next, weld them together using a Tig welder.
Use the angle grinder to clean up the welds and make them flush with the surface.
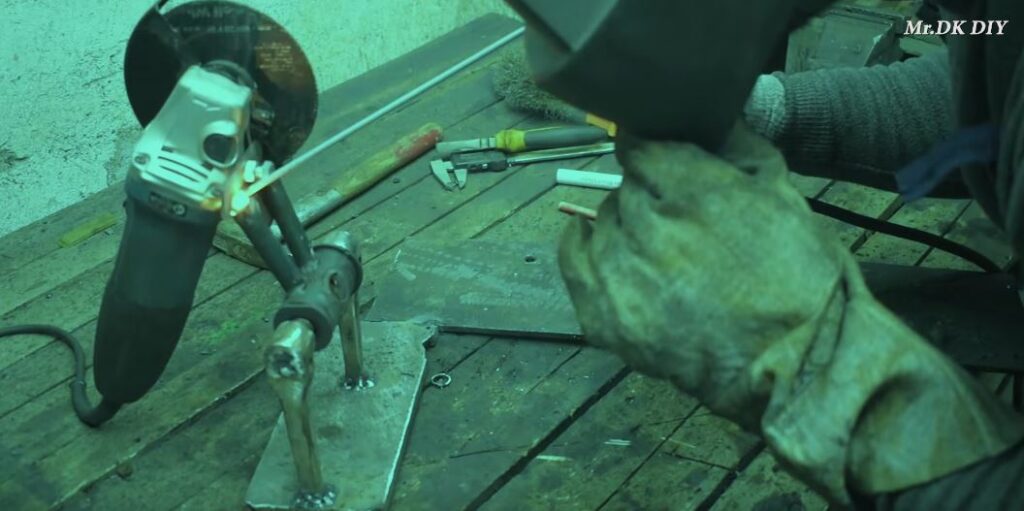
Weld The Crankarms To The Plate

Place the crankarm assembly on the metal plate. Make sure it is well aligned with the left side of the plate.
Weld it to the plate using the Tig welder. Make sure the assembly stays upright throughout the welding process.
Next, clean up the welds using an angle grinder, so they are flush with the surface. Make sure the chain stay in the center of the arms is still rotating.
Cut Out a Bracket for The Angle Grinder


The bracket is the part of the jig that will hold the angle grinder in place, and you’re going to cut it from metal strips.
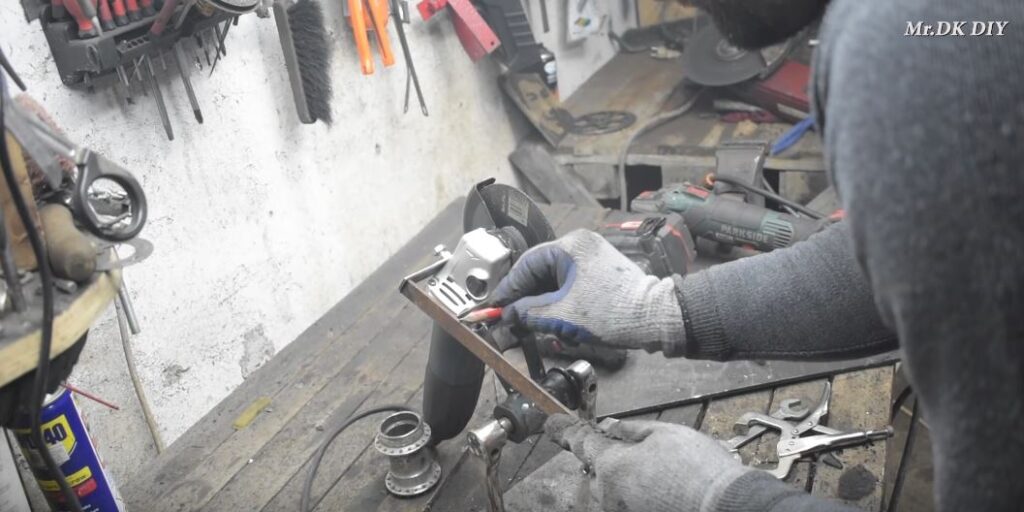
Unscrew the handle from your angle grinder. Take the metal strip and place it on the side of the angle grinder over the screw hole.
Make sure the metal strip is flush with the guard. Add about half an inch to the width of the grinder and mark it out on the strip.
Remove the strip and cut out the section with an angle grinder. Put the strip back on the grinder and mark out where the screw hole on the grinder intersects with the strip.
Measure the diameter of the hole on the angle grinder with a caliper. Drill out a hole equal to that width on the strip.
Grind away any rust and impurities on the strip.
Attach The Bracket to The Angle Grinder


Place the strip back on the angle grinder’s side and make sure both holes are aligned. Using an M4 bolt and nut, attach the bracket to the side of the angle grinder.
Use a spanner to make sure the connection is tight.
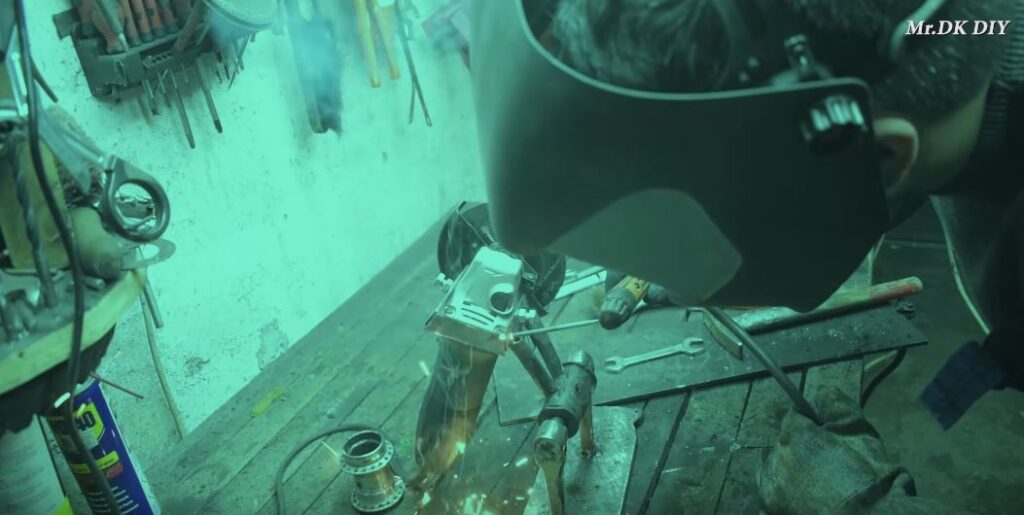
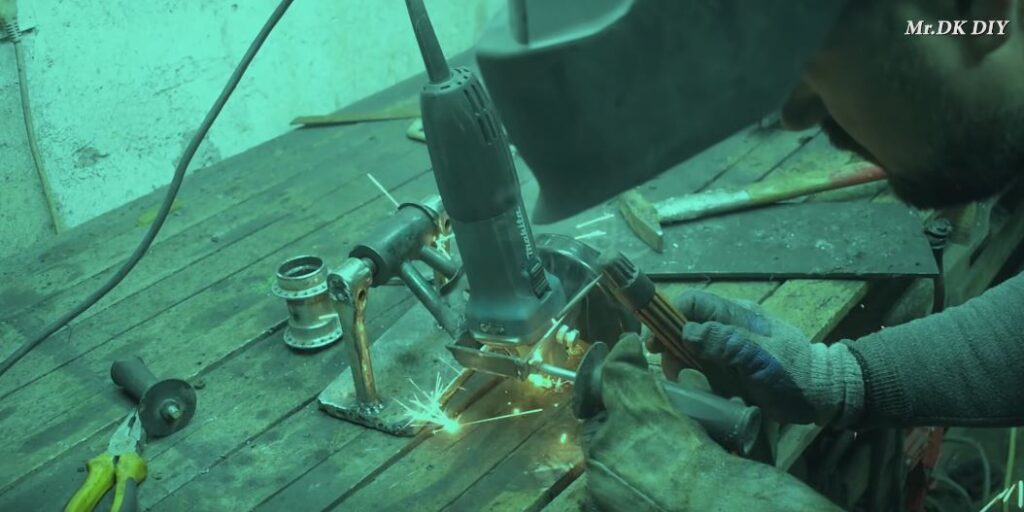
Weld The Bracket to the Chain Stay

Place the angle grinder’s bracket right on top of the chain stay in the middle of the assembly. Make sure the bracket is well aligned with both chain stay rods.
Next, weld the bracket to the chain stay rods. After welding them on one side, you can flip to the other to ensure that you have a strong weld.
You can remove the angle grinder from the bracket and weld it separately if you have trouble welding them together. Next, clean up the welds with an angle grinder.
Cut Out a Second Bracket For The Grinder


If you’ve removed the angle grinder from the bracket, re-attach it with the nut and bolt. Turn the angle grinder to the other side.
Place the metal strip over the hole on the other side and ensure its end is flush with the guard. Add one inch to the width of the grinder and mark it on the metal strip.
Also, mark the strip where it intersects with the second hole on the grinder.
Remove the strip and cut off the initial section you marked. Next, drill a hole equal to the grinder hole’s width at the second point you marked on the strip.
Clean up the metal strip using an angle grinder. Make sure you get all the rust and impurities on the strip.
Attach The Second Bracket to The Grinder

Place the second bracket over the hole on the other side of the angle grinder. Make sure the holes line up properly.
Join the bracket to the grinder using an M4 screw and nut.
Cut Out a Third Strip to Join Both Brackets
Measure the distance between the front bracket and the rear bracket. Using that distance, mark out a section on the metal strip.
Cut out the section from the metal strip with an angle grinder. Clean off any rust or impurities from its surface using the angle grinder.
Join Both Brackets
Place the strip you just cut out between both brackets. Make sure the strip’s edges line up with the edges of the other brackets.
Weld them together. Clean up the welds using an angle grinder.
Add The Handle to The Jig

Take the long M4 screw and insert it into the handle. Screw it in and makes sure it fits into the handle.
If it doesn’t, get the correct size. If it fits, remove it from the handle and place the bolt, head down, on the second grinder bracket.
Make sure it is on the opposite side of the grinder’s guard. Weld the bolt to the jig.
Next, screw in the handle on the bolt. Now, you can press cut anything on your workbench.
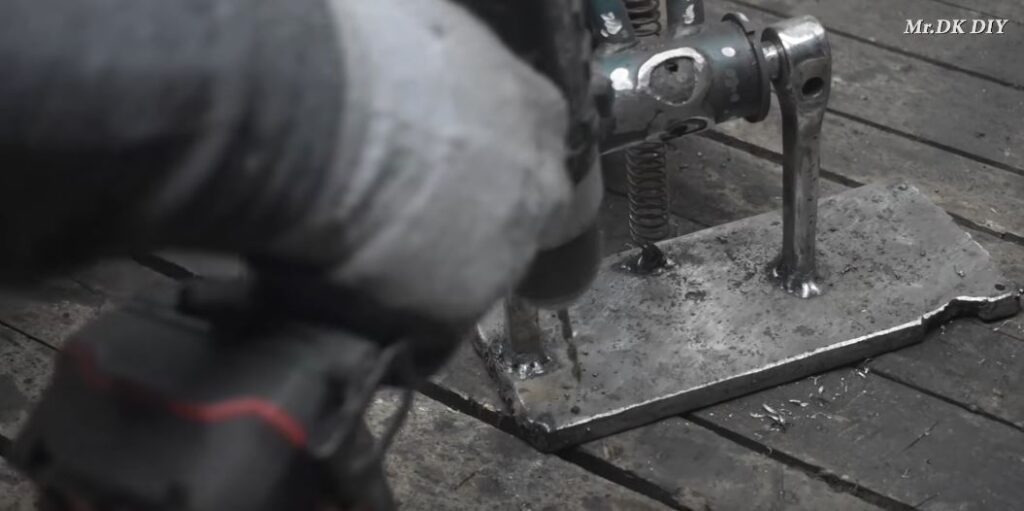
Add A Spring to The Jig
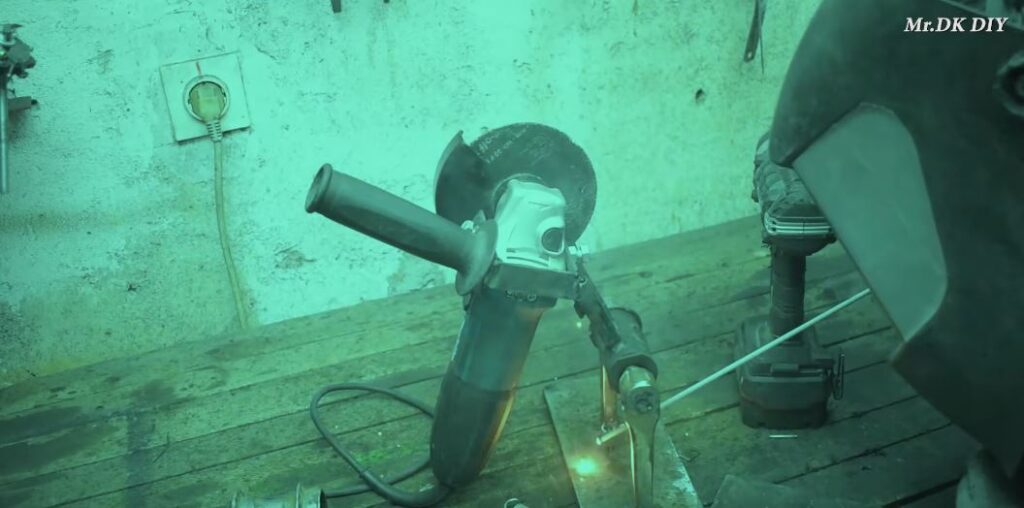
The spring makes it easier to return the grinder to its original position after cutting something on the workbench. The spring will need two holes to hook into; one on the base and one on the chain stays.
For the hole on the base, place a nut vertically on the base. Make sure it is directly under the grinder.
Weld the nut in place. If there isn’t one on the chain stay’s cross beam for the second hole, drill a hole with a diameter of about ½”.
Take the spring and hook one end to the bottom nut. Take the other end and attach it to the hole on the chain stay’s cross beam.
Now the grinder will always return to its original position when you release it after cutting.
Drill Some Holes in The Base
These holes in the base will help secure your jig to the workbench and minimize vibrations when using it. Using an M3 bit, drill a hole at each corner of the base.
Grind Down the Jig

The jig is almost complete. All that is left is a coat of paint to make it ready. But before painting, it needs to be sanded down.
Disassemble the jig and remove the grinder and the spring from it. Using your angle grinder with a sanding attachment, go over all the surfaces of the jig,
Make sure you clean all the rust and protruding welds from the jig’s surface.
Paint The Jig

After sanding the jig down, place it on a cardboard or newspaper-covered surface for painting. Spray it down with a coat of any rust-resistant paint.
Wait for the first coat to dry, then spray it with another coat.
Re-attach The Grinder to The Jig

After the final coat of paint dries, bring the jig back to your workbench. Place the angle grinder back in its position and secure it in place with the screws.
Next, re-attach the spring back to the holes on the bottom, and the chain stay.
Secure The Jig to The Workbench

Place the jig on your workbench in the spot you’ve reserved for it. Next, secure it in place by drilling four screws into the holes at its corners.
Ensure you tighten the screws properly, so they don’t slip from their holes.
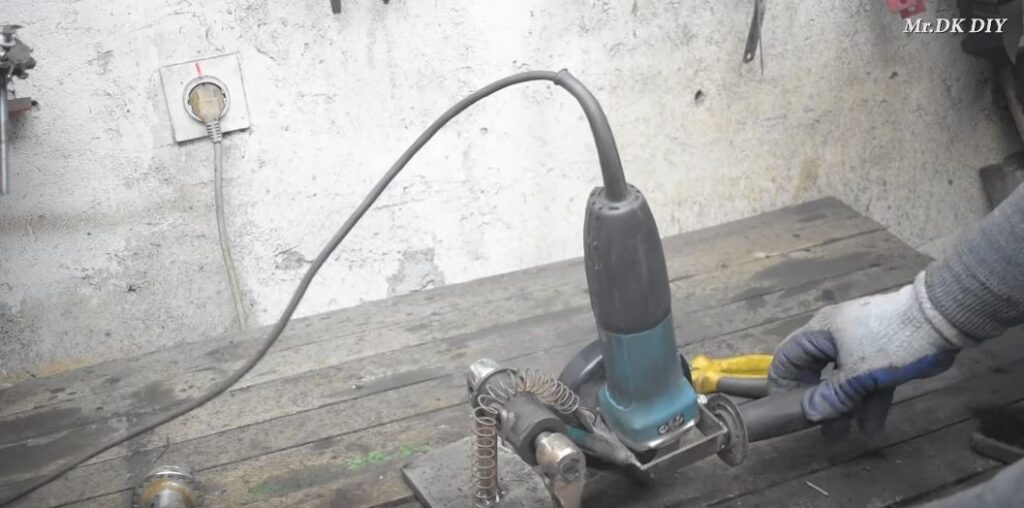
Final Product
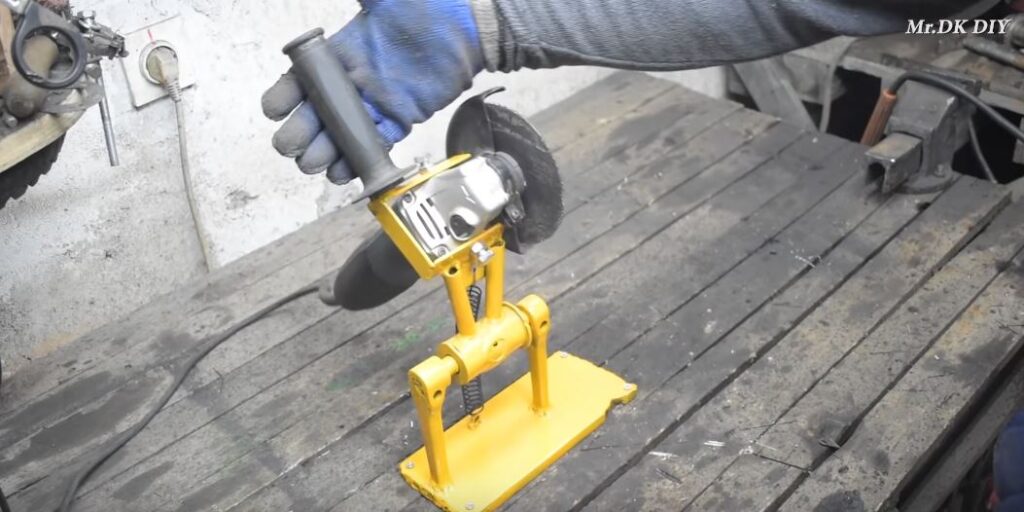

Now, your jig is finally complete. You have a cost-effective, functional tool that can easily transform your angle grinder into a miter saw.
For more great ideas like this, you can check out Mr. DK DIY’s channel on YouTube. You can also connect with him on Facebook for more interesting project ideas.


