Keeping that in mind, any problem you might have would occur in any of the 3 diverter types.
The primary issue you may have will require you to take apart the bathtub faucet and clean, repair, or replace the diverter.
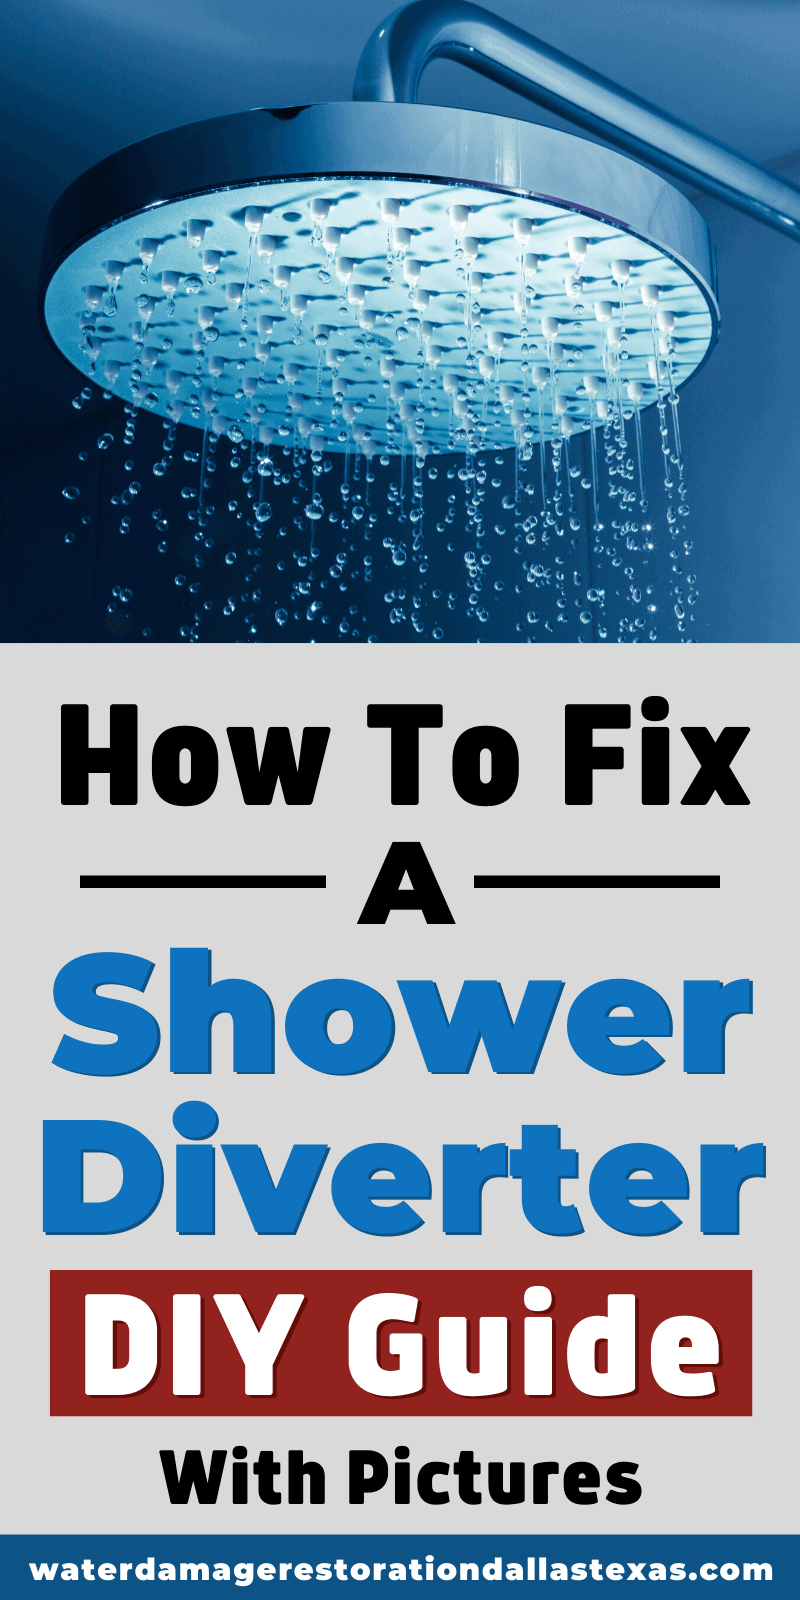
This is How To Fix A Shower Diverter: Shower diverters come in 3 different types, tee, two, or three valve. Remove the bathtub faucet to find the diverter. Try cleaning it by soaking in distilled white vinegar for 24 hours and use a q-tip if needed. You may want to replace the corroded nuts or bib washer.
Also Read:
What a Plumber in Mesquite TX Can Do To Improve Your Home
Do not worry about not knowing what to do, we will walk you through it!

How To Remove The Bathtub Faucet
Prior to fixing your shower diverter, if you have a tee divert, you will not be able to begin without removing the bathtub faucet. To begin…Use a straight blade to cut the caulk around the base of the faucet
1. Find the set screw location. For many, it is around the base of the faucet and for others it is hidden behind a button

2. Note that the tool to remove the screw could be an Allen Wrench, Flat Head Screwdriver, or a Phillips Head Screwdriver.

3. Using your hand, twist or pull the faucet as some models are threaded on to the stem.

1. If the faucet has been there for quite some time, you may need to use a towel (to prevent marking it up) and a wrench
Now you are ready to move on to fixing that shower diverter!
If you like to watch the video of how to do this in steps. Just check out the video below. Even better you can check out TheDIYGuyDOTnet’s Youtube channel. He has a ton of videos about different DIY’ topics such as: “How to change oil on a Toyota” and “How to assemble a Portable Generac Generator”.
#1. How To Replace -Or- Fix A Tee Diverter
Now that you have removed the bathtub faucet…

1. Due to this being a tee diverter, the diverter is located within the bathtub faucet, so you will want to start by trying to clean the faucet.

1. Find a baggy that the faucet fully fits in and fill it with distilled white vinegar, you should let it soak for about 24 hours.

2. Prior to reinstalling the faucet, if it is threaded, you should apply 3 layers of plumber’s tape which will reinforce the seal.
1. Pro tip – If you are simply replacing the faucet, this is a good idea to do anyways!
If you liked the steps on how to fix a Tee Diverter, you should also watch the video below. I would also recommend that you check out Yourself Youtube Channel. He almost has 40 thousand subscribers, and really know alot about DIY around the house. Yourself also has a lot of videos about electronic and computers.
#2. How To Replace -Or- Fix A Two Valve Diverter
1. Start this process by ensuring that the water is coming out of the tub faucet and not the shower head. Although it is not necessary to turn off your water supply, you want to make sure that if water does start coming, you don’t get soaked in the process!

2. Remove the handle, lever, or knob that is holding the diverter in place.
1. In other words, the piece that you turned to make sure the water was going into the tub.

2. You must find where the screw is located in order to remove the piece. If it is not visible, you can pop the button off using a small flathead screwdriver.
3. Don’t forget to plug your drain so you don’t lose any parts!

3. Using your hand, or perhaps a wrench if necessary, unscrew the cover and stem piece.
1. Now you can see the diverter!

4. To remove the diverter, you can use a socket set.

5. You should be able to see if it needs to be cleaned, which is always a good idea anyways, or replace any parts.
1. Cleaning can be done using distilled white vinegar and a q-tip. Simply soak to q-tip in the vinegar and spot clean any mineral buildup that you may see.
2. The parts that may need to be replaced include corroded nuts and/or a bib washer. The bib washer can be worn down or even nonexistent!
Once you have cleaned the diverter and replaced any necessary parts, reassemble and enjoy your hard work!
If you liked the detailed steps above about how to fix a two valve diverter. You should check out KungFuMaintenance’s Youtube Channel. His channel is about alot of different things, but some of it are: air condition, dishwasher fixes and other house Maintenance.
#3. How To Replace -Or- Fix A Three Valve Diverter
Arguably the more complex shower diverter to fix, you will be focusing on both the hot and cold knobs. Although we will go step by step focusing on one knob, you will need to do the same process for both.
1. For this fix job, you will need to shut off the main water supply to the shower.

2. Start by removing the knob. Find the screw, if not visible it is located under the plastic button which will need to be popped off using a small flathead screwdriver.
1. Once the knob has been removed, use your hand or a handle remover to remove the base. If using a handle remover, do so carefully as to not scratch the fixture.

3. You will also want to remove the base and any cement or grit that is located within the hole.

4. Once the hole is cleaned, you will need to remove the sleeve which may either be screwed on or will need to be removed with a wrench.
1. The wrench may ultimately render the sleeve useless and you may just have to replace it.

5. Use a socket wrench to then remove the shower diverter stem, carefully.
1. Make sure the rubber washer is removed with the stem or check the hole. You do not want it in there when you go to put back the stem as it will cause it to not seal correctly.

6. Finally, you will want to remove the seat using the seat removal tool.
1. Place it inside the hole and tap it gently to make sure it is place. Unscrew it to remove the seat.

7. Once all the pieces have been removed, it is time to replace any piece that has been work down or corroded overtime.
1. Pieces to check and/or replace; the seat, rubber washer, screws.

8. When putting all the pieces back together, we suggest using a waterproof lubricant on the shower diverter to ensure it fits back nicely.
If you loved the detailed steps like the once above be sure to watch the video below too. You should also check out Bob Sessa’s Youtube Channel too. Its a channel only about plumbing, so he REALLY know what he is talking about. He has almost 40 thousand subscribers on youtube and has been there since 2012. Robert as his real name is also has a Twitter, a website and a Facebook page that you should check out aswell.
Conclusion
It is never a good thing when your shower tub faucet starts leaking, but it is a good thing when you know what to do to fix it!
As long as you have the time, tools, and parts for the job you can definitely learn how to fix shower diverter all on your own!