Whatever you do, never throw away your old wooden pallets. Not sure what to do with them? Well, here is a unique idea with a clever solution.
Come along and let me show you how to turn simple things like an old wooden pallet into a unique organizer. Now, let us dive into the steps involved and see what comes up.
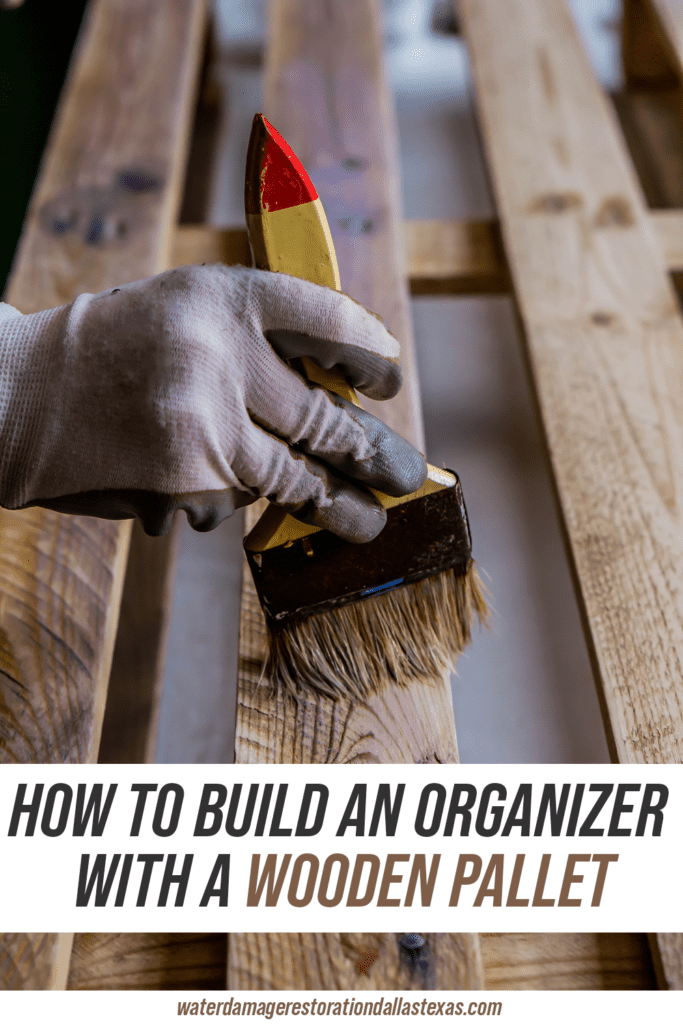
Preparing the pallet
Grab your wooden pallet from your yard, garage, shed, workshop, or wherever it may be laying around. You could even borrow one from your neighbor if they are not using it. Carry it up to your working space or workshop to fine-tune it. Don’t mind the stains, mold, mildew, or wear on it as long as the wood is still sturdy.
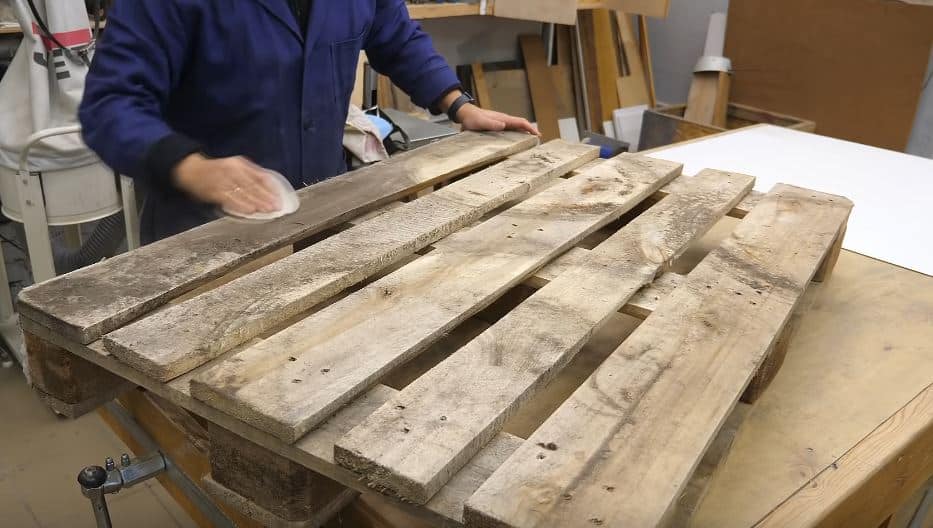
Set it on your worktop and begin sanding it. You are free to use either sandpaper, sanding block, or electric sander. Just make sure you thoroughly sand the pallet slats to get rid of the stains and obtain a fine texture. After sanding, every inch of the pallet, start collecting the dust and debris on the pallet slats using a vacuum or blower.
This should give you a clearer view of the sections that need to be sanded again. Fine-tune every inch of the pallet as you blow until you obtain a smooth and clean texture.
Using a steel ruler, mark the edges of the slats that are rough and crooked. Chip the edges off using a jigsaw and use a circular saw to eliminate all the protruding parts of the pallet. Lastly, refine the edges with a hand plane.
Afterward, place your carpenter’s square along the edges of the pallet to test the corners and ensure everything lines up perfectly.
Making the metal handle

Your organizer is going to need a handle to make your work easier. What better handle than a metal one? Here is how to make one easily.
Grab three rectangular steel tubes of equal gauges, clamp them on your electric hacksaw machine, and cut them down to size at angles of 45° each. If you don’t have an electric hacksaw, use an angle grinder or a manual hack saw.
Then, lay them on a flat surface, design them into shape, and ensure they are squared up before arc welding them on each other. You can use any type of arc welding as long as you do not overdo it. The metal handle you end up with should have a stand and a base comprising of two protruding bars for attaching to the wooden pallet.
Once you are done welding and squaring, set your metal handle on a rug, a used plywood, or even a used newspaper. Spray paint it to your desired color. In my case, I prefer black. Give the paint some ample time to dry.
Attaching the base and set up the wheels

Meanwhile, keep yourself busy with preparing the base of your organizer. Get a plain sheet of plywood and lay it on your worktop. Using your carpenter’s square, mark the plywood appropriately and cut it along its length into three equal parts using your circular blade.
From these parts, cut the pieces down to size and attach them to the sides of the pallet to seal the gaps between the upper and lower decks. Before attaching the handle, drill some pilot holes to keep the wood from splitting. Then, screw the plywood pieces firmly into place. Do that to only three sides of the wooden pallet, sparing one side for inserting the metal handle.
If the paint has dried, grab your metal handle and insert it from beneath the pallet on the unsealed face. Square it up and clamp it firmly in place. Drill enough holes through the pallet slats on where the metal touches the wood. Next, screw the metal handle in place.
With the handle attached, now you can comfortably seal the remaining palate space with the remainder of the plywood. Ensure you cut out some allowance to accommodate the metal base before attaching the plywood. Screw it in place and overturn the pallet to set the caster wheels.
Set the wheels on the four corners of the pallet base and screw them in firmly. Now, that’s a movable trolley right there.
Adding the features

Hold on a moment, the trolley is far from over. For a perfect finished look and a stable base surface, you must seal the top part of the wooden pallet as well. Cut your plywood to size and cover the entire upper surface, of course making some slight adjustments for the metal bars. Then, screw it on the surface.
Grab two more sheets of plywood and set them on your worktop. Ensure you lay them squarely on each other. Use your steel ruler and a pencil to make the appropriate markings for the length you want to cut. Cut out the excessive edges and separate the two sheets.
Mark the sheets along their length at the exact point you will attach your 2 by 4 framing lumber. Drill enough pilot holes on both sheets to screw your lumber pieces in place. What you end up with are the sides of a shelf when upright.
Along the length of the protruding lumber pieces, set a sizeable sheet of plywood supported by both plywood sheets on each side. Insert another shelf plywood on the second layer. Lift your portable shelf and screw it on the base of the pallet in an upright position.
Head back to your worktop. Mark and cut your remaining plywood pieces into four sizeable polygonal shapes using a band saw. The polygon shapes should be slanted at the top and attached to the erected shelves at an angle of 90°. The four polygon pieces allow you to create additional storage space side by side.
Square them up and screw them in along the length of the supporting 2 by 4 lumber pieces. Next, add a plywood stopper on the slanted side of the polygon shapes to secure the storage. On the top sides of the shelves earlier created, add some stoppers, too.
Lastly, insert plastic bushings into the protruding holes of the metal base, and you are all set.
Functions and uses

After about 2 hours of engaging your creativity, you end up with the fruits of your wits. A gorgeous organizer made entirely from the recycled wood pallet, plywood, and steel hollow section.
All that’s left of you now is finding the perfect job for the organizer. After hours of hard labor, you want to make sure you assign some noble tasks to the DIY organizer to fully enjoy the work of your hands.
Now that you have plenty of extra storage, you can clear all the clutter lying around your working area. A movable organizer for all the handy jobs around your home, shed, garage, or workshop is all you have been needing all along.
Interestingly, you can also use it to move around luggage, groceries, and other heavy equipment, especially when offloading your car from a long trip. Due to its mobility and multiple storage compartments, you can even let your organizer accompany you to your next baseball, basketball, tennis, golf, or hockey game with all your gaming equipment stashed in there safely.
Conclusion
Building an organizer is a breeze when you have the right tools and know-how. All you need is to be extra keen with your measurements, markings, and designs. Did you encounter any challenges doing this? Let me know in the comments section below.
If you would rather prefer to see all the action in a video instead of setting up the entire pallet step by step. You can watch the video below. Or better click onto Home Workshop youtube channel and subscribe to get updates on all his DIY goodies. He has also a Facebook fanpage you should take a look at.